
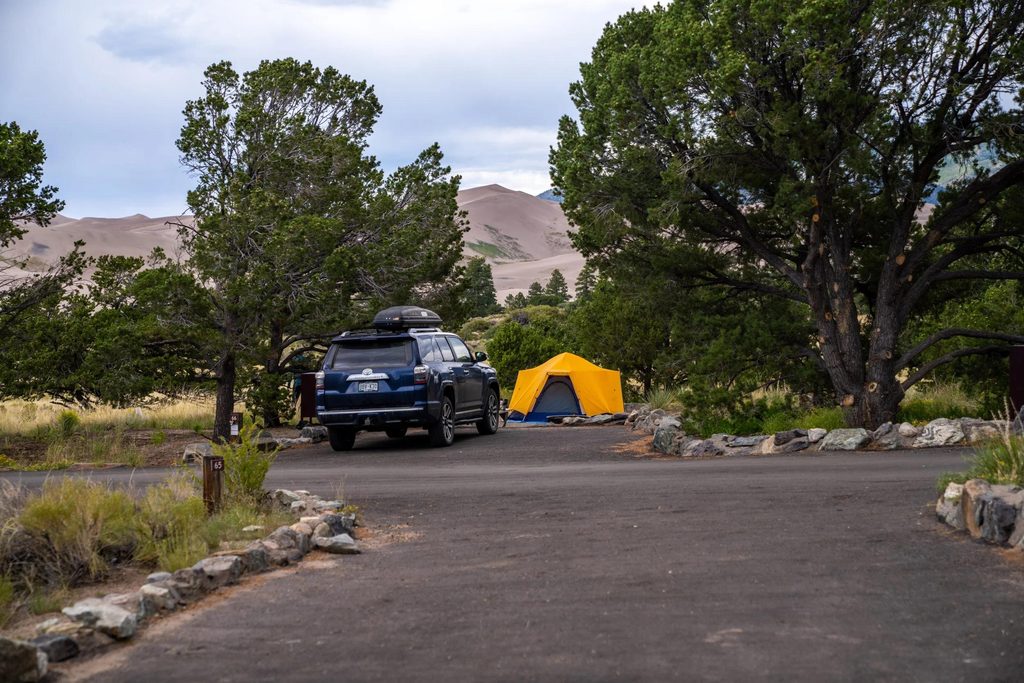
A camping road trip is one of the easiest ways to combine travel, camping, and outdoor adventure into one trip.
Instead of flying directly to a destination and staying in a hotel, you can drive your own car, explore different places along the way, and spend the night at a campground.
For beginners, however, a camping road trip can feel a little overwhelming.
You need to think about the route, driving time, campsite reservations, food, camping gear, fuel, weather, and what to do if something doesn’t go according to plan.
The good news is that you don’t need to plan every minute of the trip.
A simple plan can make your first camping road trip much easier and more enjoyable.
In this guide, we’ll explain how to plan your first camping road trip, from choosing a destination and route to preparing your car, booking a campsite, packing your gear, and getting ready for the road.
What Is a Camping Road Trip?
A camping road trip combines a road trip with one or more nights of camping.
Instead of simply driving to a destination, the journey itself becomes part of the experience.
A typical camping road trip might look like this:
Home → Road Trip → Campsite → Outdoor Activities → Campsite → Road Trip → Home
You might visit a national park, state park, forest, lake, beach, or other outdoor destination along the way.
Camping road trips are especially convenient for people who want to bring more gear because you’re carrying everything in your vehicle rather than on your back.
1. Decide How Long Your Trip Will Be
Start with the number of days you have available.
For a first camping road trip, a shorter trip is often easier to manage.
For example:
2-Day Trip
A simple overnight trip can be a good introduction to camping on the road.
You might drive a few hours, camp for one night, and return home the next day.
3-Day Weekend Trip
A three-day weekend gives you more time to travel and enjoy the destination.
This is a practical format for many beginner camping road trips.
4–5 Day Trip
With several days available, you can travel farther or visit multiple destinations.
However, you’ll also need to spend more time planning fuel, food, campsites, and driving time.
Longer Road Trip
Longer trips require more planning.
You’ll need to think about:
- Multiple campsites
- Longer driving distances
- Food resupply
- Laundry
- Vehicle maintenance
- Weather changes
- Backup plans
For your first trip, you don’t need to start with a huge multi-state adventure.
A simple weekend trip can teach you a lot.
2. Choose Your Destination
Think about what kind of outdoor experience you want.
You might want:
- Mountains
- Forests
- Lakes
- Beaches
- Desert landscapes
- National parks
- State parks
- Campgrounds near small towns
Your destination will affect the type of campsite, gear, clothing, food, and vehicle preparation you’ll need.
The National Park Service recommends considering the environment, season, campsite accessibility, trip duration, and activities when planning a camping trip.
For a first camping road trip, choosing a developed campground can make the experience easier.
Developed campgrounds may offer amenities such as:
- Restrooms
- Drinking water
- Picnic tables
- Fire rings
- Trash facilities
- Vehicle access
For your first camping trip, consider staying at a developed campground with basic amenities such as restrooms, parking, and designated campsites.
3. Choose a Campsite
Once you’ve chosen the destination, find a suitable campground.
Before booking, check:
- Campsite availability
- Maximum number of people
- Maximum number of vehicles
- Tent rules
- Fire regulations
- Quiet hours
- Bathroom facilities
- Water availability
- Food storage rules
- Pet policies
- Check-in and check-out times
Also check whether the campground requires a reservation.
Some campgrounds operate on a reservation system, while others may use first-come, first-served sites.
Don’t assume that every campground has the same rules.
Check the campground or park’s official website before leaving.
4. Plan Your Driving Route
Now it’s time to plan the road trip itself.
Start with:
Home → Destination → Home
Then look for interesting places along the route.
You might find:
- Scenic viewpoints
- Small towns
- Restaurants
- Gas stations
- Grocery stores
- Hiking trails
- Visitor centers
- Historic sites
- Parks
However, don’t add too many stops.
One of the easiest ways to make a road trip stressful is trying to visit everything along the way.
Give yourself enough time to drive comfortably and arrive at the campground before dark when possible.
5. Don’t Underestimate Driving Time
A map may show a trip taking four hours, but real-world driving can take longer.
Allow extra time for:
- Traffic
- Fuel stops
- Food
- Restrooms
- Road construction
- Weather
- Scenic stops
- Unexpected delays
If your route is unfamiliar, don’t plan your campsite arrival based on the absolute fastest possible driving time.
Give yourself some extra room.
6. Plan Your Fuel Stops
Don’t wait until your fuel gauge is nearly empty before looking for a gas station.
Before leaving, check where you’ll be able to refuel.
This becomes especially important if you’re traveling through remote areas.
A simple approach is to identify:
- Starting fuel station
- Mid-route fuel stops
- Fuel station near your destination
- Fuel station for the return trip
You can also keep track of your approximate fuel range.
Knowing where the next gas station is can make remote-road driving much less stressful.
7. Prepare Your Car Before the Trip
Your vehicle is one of the most important pieces of equipment on a camping road trip.
Before leaving, check:
- Tire pressure
- Tire condition
- Engine oil
- Coolant
- Windshield washer fluid
- Brake condition
- Battery
- Lights
- Wipers
- Spare tire
- Jack and tire-changing tools
Before a road trip, check your tire pressure and tread, fluid levels, brakes, lights, and any routine maintenance that may be due.
If your vehicle needs maintenance, take care of it before the trip rather than waiting until you’re already on the road.
For a longer trip, a professional inspection can also be worthwhile.
8. Check the Weather
Weather can completely change a camping trip.
Check the forecast before leaving and again shortly before you depart.
Look for:
- Temperature
- Rain
- Wind
- Snow
- Thunderstorms
- Extreme heat
- Overnight temperatures
Weather also affects what gear and clothing you need.
For example, a warm summer forecast may require different equipment than a cool, rainy weekend.
If severe weather is expected, be willing to change your plans.
A good road trip plan should be flexible.
9. Plan What You’ll Eat
Food planning becomes more important when you’re camping.
Decide whether you’ll:
- Cook every meal
- Prepare some meals before leaving
- Eat at restaurants
- Buy food along the way
- Use a combination of all four
For a short beginner trip, you don’t need to create complicated camp meals.
Simple options include:
- Sandwiches
- Breakfast burritos
- Oatmeal
- Eggs
- Hot dogs
- Pasta
- Rice
- Grilled foods
- Snacks
- Fruit
Bring enough food for your planned trip and consider carrying a little extra in case your schedule changes.
Also check the campground’s food-storage requirements, especially if you’re camping in an area with wildlife concerns.
10. Pack Your Camping Gear
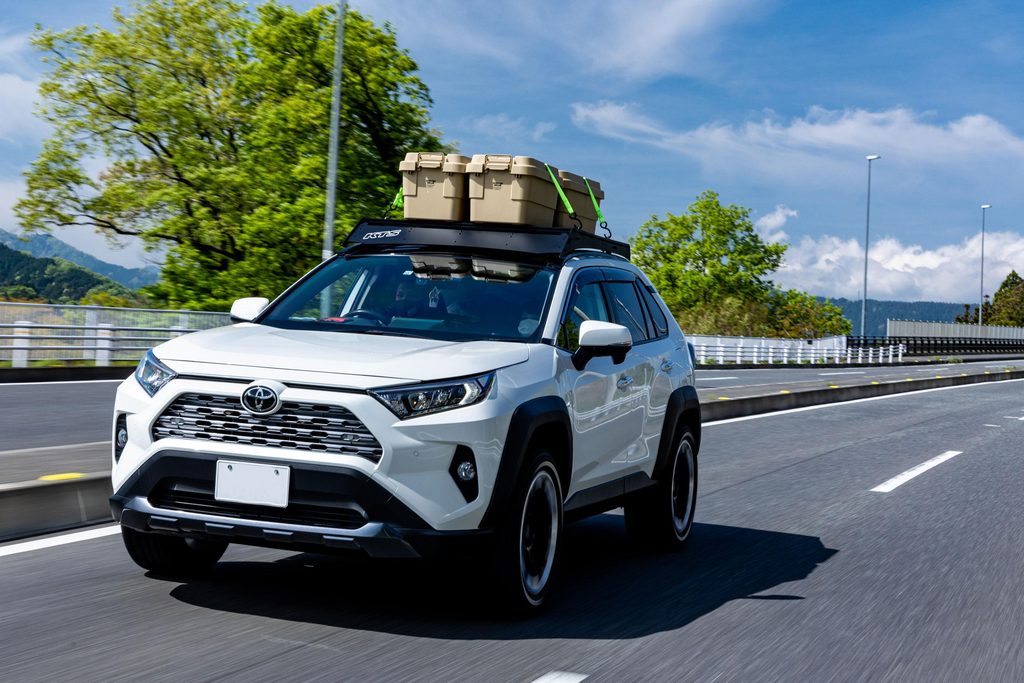
Your gear list will depend on your camping style.
For a basic tent camping road trip, you may need:
Shelter
- Tent
- Tent footprint
- Tent stakes
- Tarp if needed
Sleeping
- Sleeping bag
- Sleeping pad
- Camping pillow
- Blanket if needed
Cooking
- Camping stove
- Fuel
- Cookware
- Utensils
- Cooler
- Food storage containers
Water
- Water bottles
- Camping water container
Lighting
- Headlamp
- Lantern
- Extra batteries or charging options
Camp Comfort
- Camping chair
- Camping table if needed
- Outdoor blanket
Safety
- First-aid kit
- Flashlight
- Emergency supplies
- Basic repair items
For a camping road trip, prepare a complete setup that covers shelter, sleeping gear, cooking, lighting, safety supplies, and essential vehicle equipment.
11. Don’t Overpack
It’s easy to bring too much gear when you’re driving.
You have plenty of space in your vehicle, so you may be tempted to bring everything you own.
Try to avoid that.
Before packing something, ask:
“Will I actually use this on this trip?”
If the answer is no, leave it at home.
A simpler setup makes it easier to:
- Pack your vehicle
- Find your gear
- Set up camp
- Clean up
- Pack everything again
Your first trip is also a great opportunity to learn which equipment you actually use.
12. Organize Your Car
Don’t simply throw everything into the trunk.
Organize your gear by purpose.
For example:
Bin 1 — Cooking
- Stove
- Fuel
- Cookware
- Utensils
Bin 2 — Camping
- Tent
- Footprint
- Stakes
- Tarp
Bag — Sleeping
- Sleeping bag
- Pillow
- Blanket
Small bag — Essentials
- Headlamp
- First-aid kit
- Power bank
- Personal items
Keep items you’ll need during the drive somewhere easily accessible.
Don’t bury your emergency supplies underneath all your camping gear.
13. Keep Important Items Easy to Reach
Some items should never be packed at the bottom of your trunk.
Keep these accessible:
- Water
- Snacks
- Phone charger
- First-aid kit
- Flashlight
- Emergency supplies
- Jacket
- Important documents
If you need something quickly, you shouldn’t have to unpack half your vehicle to find it.
14. Plan Your Arrival at the Campsite
Try to arrive while there is still enough daylight to set up your campsite.
Setting up a tent for the first time in complete darkness is much more difficult.
Before arrival, know:
- Campground entrance
- Check-in procedure
- Campsite number
- Reservation information
- Quiet hours
- Where the restrooms are
- Where water is available
- Where to park
Keep your reservation confirmation available on your phone.
If the campground has limited cell service, consider saving important information offline.
15. Set Up the Campsite Before Relaxing
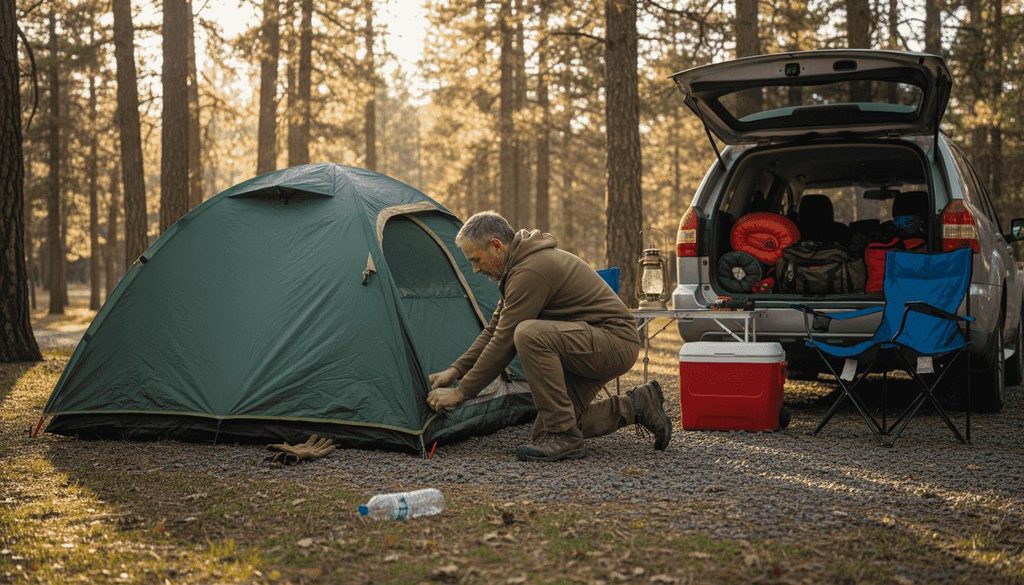
Once you arrive, resist the temptation to immediately start cooking or exploring.
Set up the basic campsite first.
A simple order is:
- Park your vehicle.
- Check the campsite.
- Set up the tent.
- Install the footprint if needed.
- Set up your sleeping system.
- Organize your gear.
- Set up your cooking area.
- Store food properly.
- Prepare lighting.
Once the basic setup is complete, you can relax and enjoy the campsite.
16. Have a Backup Plan
Things don’t always go according to plan.
Your campsite could be unavailable.
The weather could change.
Your vehicle could develop a problem.
A road could be closed.
A hiking trail could be inaccessible.
That’s why it’s useful to have a basic backup plan.
Know:
- An alternative campground
- Nearby towns
- Gas stations
- Grocery stores
- Emergency services
- Alternative activities
The National Park Service specifically recommends having a backup plan because weather, environmental hazards, and site conditions can change.
A backup plan doesn’t mean you expect something to go wrong.
It simply gives you another option if it does.
17. Tell Someone About Your Trip
Before leaving, let someone you trust know your basic itinerary.
Share:
- Destination
- Campsite
- Travel dates
- Route
- Expected return date
For more remote trips, provide more detailed information.
The National Park Service recommends leaving an itinerary with an emergency contact, including information about your route, destination, activities, and expected return.
This is a simple habit that can be valuable if something unexpected happens.
18. Download Important Information Before Leaving
Cell service isn’t guaranteed everywhere.
Before your trip, consider downloading:
- Offline maps
- Campground information
- Reservation confirmation
- Directions
- Important phone numbers
- Park information
You don’t want your entire trip plan to depend on having a strong phone signal.
Keep important information available offline whenever possible.
19. Bring a Basic Emergency Kit
A road trip emergency kit doesn’t need to be enormous.
Consider bringing:
- First-aid supplies
- Flashlight or headlamp
- Extra batteries
- Jumper cables or jump starter
- Tire pressure gauge
- Spare tire and tire-changing equipment
- Basic tools
- Emergency food
- Extra water
- Phone charger or power bank
A well-prepared road trip should include essential vehicle emergency equipment, such as a spare tire, jumper cables, tire repair tools, basic emergency supplies, and extra water.
Your exact equipment should depend on your vehicle, route, season, and destination.
20. Plan for Your First Night
Don’t make your first camping night unnecessarily complicated.
After a long drive, you may be tired.
Keep your first evening simple:
- Set up your tent
- Prepare an easy meal
- Organize your sleeping area
- Check the weather
- Charge your devices
- Relax
You don’t need to cook an elaborate dinner or start a complicated outdoor activity immediately after arriving.
Save the more ambitious activities for when you’re rested.
Simple First Camping Road Trip Example
Here’s an example of a simple three-day trip.
Day 1 — Drive and Camp
Morning
- Leave home
- Stop for breakfast
- Refuel
Afternoon
- Arrive near destination
- Check in
- Set up camp
Evening
- Simple dinner
- Relax around camp
- Prepare for sleep
Day 2 — Explore
Morning
- Breakfast
- Short hike or outdoor activity
Afternoon
- Lunch
- Explore the area
- Return to camp
Evening
- Dinner
- Relax
- Prepare for the next day
Day 3 — Pack and Return
Morning
- Breakfast
- Pack campsite
- Check campsite carefully
Late Morning
- Begin drive home
- Stop for fuel and food
Afternoon/Evening
- Arrive home
- Unpack
- Clean and dry camping gear
This type of schedule gives you enough flexibility without trying to fit too many activities into one weekend.
Common Camping Road Trip Mistakes
Driving Too Far
Trying to cover hundreds of miles before camping can leave you exhausted.
Planning Too Many Activities
You don’t need to visit every attraction along the route.
Arriving at the Campsite Too Late
Setting up camp in darkness can be frustrating, especially for beginners.
Forgetting Vehicle Preparation
A camping trip doesn’t start when you reach the campground. It starts when you prepare the vehicle.
Overpacking
More gear doesn’t automatically mean a better camping experience.
Not Checking Campground Rules
Fire, food storage, pets, and vehicle rules can vary between campgrounds.
Ignoring the Weather
Always check the forecast before leaving and be prepared to adjust your plans.
Having No Backup Plan
A second option can make an unexpected problem much easier to handle.
First Camping Road Trip Checklist
Before You Leave
- Choose destination
- Choose campground
- Make campsite reservation if required
- Plan route
- Check weather
- Check campground rules
- Check vehicle condition
- Check tire pressure
- Check fluids
- Check spare tire
- Plan fuel stops
- Plan meals
- Pack camping gear
- Download offline maps
- Save reservation information
- Tell someone your itinerary
Camping Gear
- Tent
- Tent footprint
- Sleeping bag
- Sleeping pad
- Camping pillow
- Camping stove
- Fuel
- Cookware
- Food
- Cooler
- Water
- Headlamp
- Lantern
- Camping chair
- First-aid kit
- Emergency supplies
Before Leaving the Campsite
- Pack all gear
- Check under the vehicle
- Check the campsite for forgotten items
- Dispose of trash properly
- Follow campground rules
- Confirm you have your keys and phone
- Check your route home
Final Thoughts
Your first camping road trip doesn’t need to be complicated.
Start with a manageable destination, choose a campground that’s appropriate for your experience level, plan a realistic driving route, prepare your vehicle, and pack only what you actually need.
Most importantly, leave some room for flexibility.
A road trip is supposed to be an adventure, not a race from one destination to another.
Give yourself enough time to stop, explore, eat, rest, and enjoy the places along the way.
Once you’ve completed your first trip, you’ll also have a much better idea of what gear you actually need and what you can leave at home next time.
That experience will make your future camping road trips easier and more enjoyable.
Want to learn more? Check out these related camping guides:
→ Road Trip for Beginners: How to Plan Your First Road Trip
→ How to Prepare Your Car for a Long Road Trip: A Beginner’s Guide