
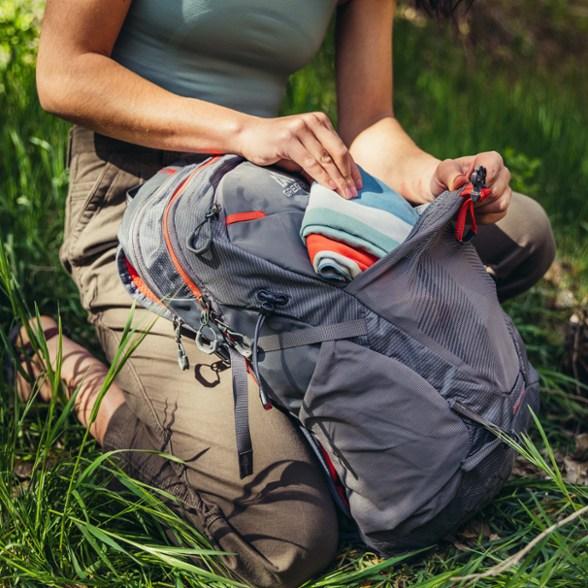
Going on your first day hike can be exciting, but deciding what to put in your backpack can feel confusing.
You do not need to carry a huge amount of equipment for every hike. At the same time, carrying too little can become a problem if the weather changes, the trail takes longer than expected, or you need to stop because of an unexpected situation.
The key is to pack according to the trail, weather, distance, and time you expect to spend outdoors.
For beginners, a good hiking backpack should contain the basics you need to stay comfortable, navigate your route, manage small problems, and respond to changing conditions.
This guide explains what to pack for a day hike in simple terms, including what you need, what you may want, and what you can usually leave at home.
1. Start With the Trail
Before choosing what to pack, understand the hike you are planning.
A short, easy trail close to a town does not require exactly the same equipment as a long mountain route far from roads or other people.
Check:
- Trail distance
- Total hiking time
- Elevation gain
- Trail surface
- Weather forecast
- Water availability
- Mobile phone coverage
- Trail difficulty
- Opening or closure information
- Expected temperature
A beginner should choose a trail that matches their current ability rather than packing for a much harder adventure.
Knowing the route helps you decide how much food, water, clothing, and emergency equipment you actually need.
2. Choose the Right Backpack
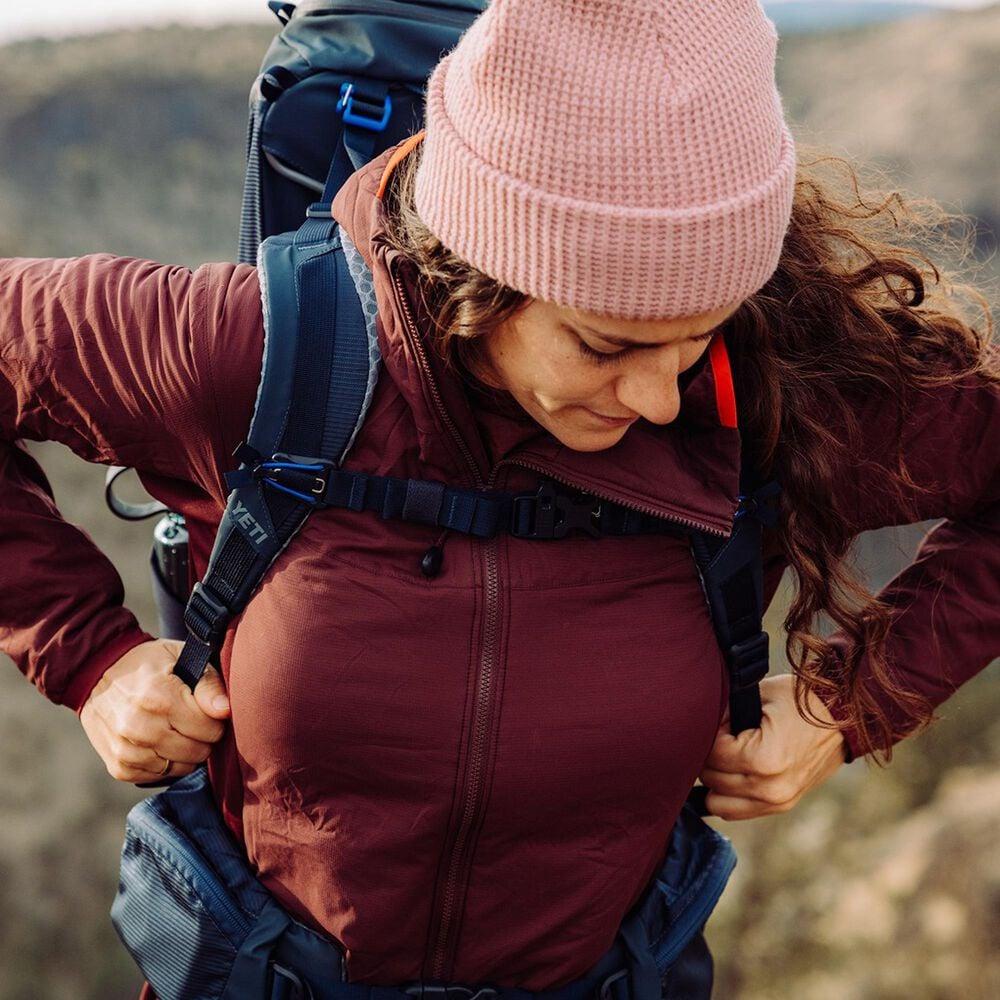
A day-hiking backpack does not need to be extremely large.
Choose a backpack that can comfortably carry your essentials without feeling unnecessarily heavy.
A useful backpack should have:
- Comfortable shoulder straps
- A secure waist or hip strap when appropriate
- Several easy-to-reach pockets
- A main compartment large enough for your layers
- A place for your water
- Comfortable ventilation against your back
The most important thing is fit.
A backpack that is too large can encourage you to bring unnecessary items.
A backpack that is too small can make it difficult to organize important equipment.
For your first hikes, focus on comfort and organization rather than carrying the most equipment possible.
3. Bring Enough Water
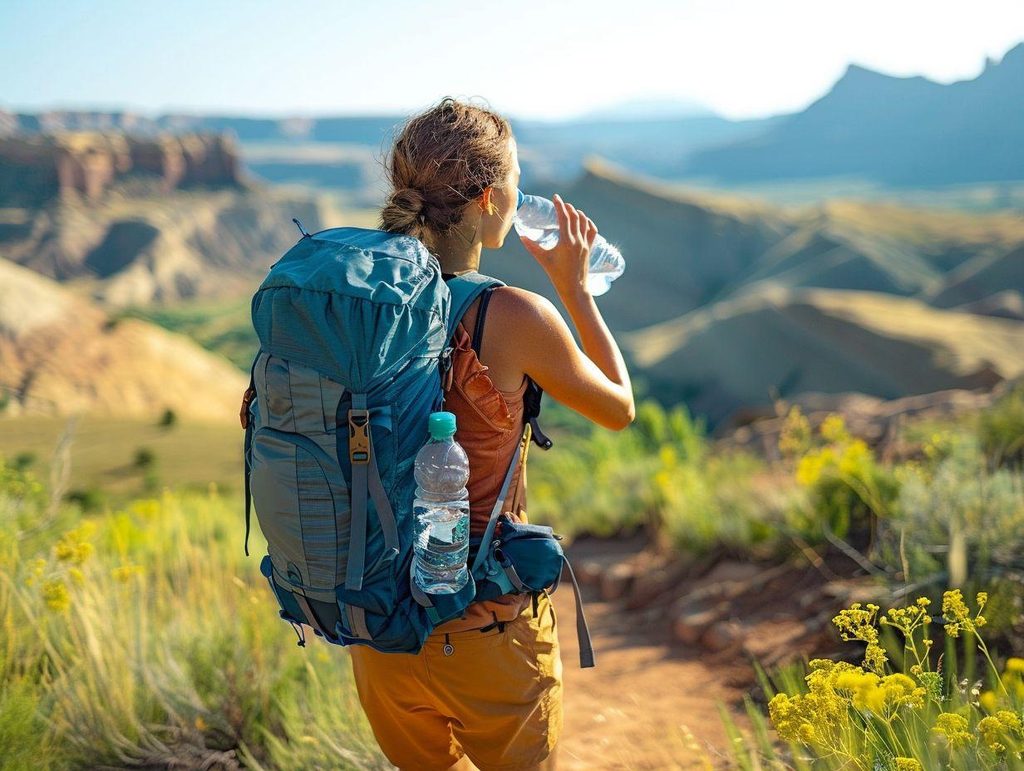
Water is one of the most important things in your backpack.
Hiking increases your need for fluids, especially in hot or humid weather.
Do not assume that a trail will have safe drinking water simply because you see a stream or spring along the route.
Before your hike, check whether reliable water sources are available and whether water treatment is necessary.
For a beginner, carrying enough water from the start is often the simplest approach.
Also remember that your water needs depend on:
- Temperature
- Humidity
- Hiking intensity
- Distance
- Elevation
- Your individual needs
- Availability of safe water
Do not wait until you are extremely thirsty before thinking about hydration. Outdoor safety guidance recommends planning your water needs before the hike and carrying additional water when conditions require it.
4. Pack Simple Hiking Food
Hiking uses energy, so bring food even if you plan to be outside for only a few hours.
You do not need a complicated meal.
Simple foods that are easy to carry and eat can work well:
- Nuts
- Dried fruit
- Fresh fruit
- Energy bars
- Crackers
- Sandwiches
- Granola
- Other easy-to-carry snacks
Choose foods that you already know you can eat comfortably while walking or resting.
For longer hikes, bring more food than you expect to need in case the hike takes longer than planned.
Extra food is also useful if weather, navigation problems, fatigue, or other unexpected situations delay your return.
5. Wear Comfortable Hiking Shoes
Your feet do most of the work during a hike.
The right footwear should match the trail rather than simply looking like traditional hiking footwear.
For an easy, maintained trail, comfortable shoes with good traction may be enough.
For rocky, muddy, steep, or uneven terrain, footwear with stronger protection and traction may be more appropriate.
Before your hike, make sure your shoes fit properly.
Do not choose a brand-new pair and immediately take it on a long hike.
Walk in them beforehand so you can discover pressure points or other problems.
6. Choose the Right Socks
Socks can make a bigger difference than beginners expect.
Choose socks that are comfortable, fit properly, and manage moisture well.
Avoid wearing socks that are too loose because they can move around and create friction.
Also avoid socks that are so tight that they restrict comfortable movement.
For longer hikes, carrying one extra pair can be useful.
If your feet become wet from rain, sweat, or a stream crossing, changing into dry socks can make the rest of the hike much more comfortable.
7. Pack an Extra Layer
The temperature you feel at the trailhead may not be the same temperature you experience later.
Weather can change during a hike, especially when you gain elevation or move into exposed areas.
A lightweight extra layer can help you stay comfortable when conditions become cooler.
Depending on the season and location, this could include:
- Lightweight jacket
- Fleece layer
- Warm shirt
- Rain shell
- Hat
- Gloves
You do not need every item for every hike.
Choose additional clothing based on the forecast and the most uncomfortable conditions you could reasonably encounter.
Preparing for sudden weather changes is a standard part of hiking safety guidance.
8. Bring Rain Protection
Even when the weather looks good in the morning, conditions can change.
A lightweight rain jacket or other suitable rain protection can be valuable during a day hike.
Rain can make trails slippery and can also make clothing uncomfortable.
If you are hiking in an area where rain is common or weather changes quickly, do not assume that you can simply turn around before getting wet.
Check the forecast before leaving and carry appropriate protection.
9. Carry a Navigation Tool
One of the easiest mistakes for beginners is relying completely on a smartphone.
A phone can be useful for maps and navigation, but batteries can run out and cellular coverage can disappear.
For this reason, it is smart to understand your route before starting.
Depending on the hike, carry:
- Downloaded offline map
- Physical trail map
- Compass
- GPS device when appropriate
- Fully charged phone
You should also know how to use your navigation tools before you need them.
A map is much less useful if you have never looked at it before.
Navigation is one of the core categories included in widely used outdoor emergency-preparedness guidance.
10. Bring a Headlamp or Flashlight
A headlamp may seem unnecessary if you plan to finish before sunset.
However, hikes sometimes take longer than expected.
You may walk more slowly than planned, take a wrong turn, stop for an injury, or experience an unexpected delay.
Having a small light can make a major difference if you are still on the trail after dark.
A headlamp is particularly convenient because it keeps both hands free.
Pack a spare battery or make sure the light is fully charged before leaving.
Outdoor safety guidance specifically recommends carrying illumination even when the original plan is to return during daylight.
11. Pack a Small First-Aid Kit
You do not need a large medical bag for a normal day hike.
A compact first-aid kit can help with minor problems such as:
- Small cuts
- Scrapes
- Blisters
- Minor irritation
- Basic wound care
You can also add items that are useful for your particular trip.
Check your kit before each hiking season and replace items that have been used or expired.
A first-aid kit does not replace professional medical care, but it can help you manage minor problems until you can reach appropriate assistance.
12. Carry Sun Protection
Sun exposure can become tiring during a hike, especially when you are outside for several hours.
Consider packing:
- Sunscreen
- Sunglasses
- Hat
- Lightweight long-sleeve clothing when appropriate
Do not judge sun exposure only by temperature.
A cool day can still involve significant sunlight.
Sun protection is also one of the standard categories included in basic hiking preparedness recommendations.
13. Bring Insect Protection When Needed
Insects can become a major annoyance on some trails.
Depending on the location and season, you may encounter mosquitoes, ticks, or other insects.
Useful options can include:
- Insect repellent
- Long pants
- Long-sleeve clothing
- Lightweight clothing that covers exposed skin
After your hike, check your clothing and body for ticks when hiking in areas where they are present.
Local conditions matter, so learn about the insects common in the area before your trip.
14. Keep Your Phone Protected
Your smartphone can be useful for navigation, communication, photos, and emergency information.
But outdoor conditions can be hard on electronics.
Protect your phone from:
- Rain
- Snow
- Dust
- Drops
- Extreme temperatures
A waterproof pouch or protective case can help.
Also start the hike with a full battery.
If you are in an area with poor reception, constantly searching for a signal can use battery power quickly. Outdoor safety guidance recommends not relying solely on a phone for emergency communication.
15. Pack a Small Emergency Kit
Your emergency kit does not need to be complicated.
For a typical day hike, consider carrying:
- Extra food
- Extra water
- First-aid supplies
- Navigation tools
- Extra clothing
- Light
- Emergency shelter appropriate for the trip
- Basic repair supplies
- Communication method
The exact contents should depend on the trail.
A short walk on a popular, easy trail close to help is different from a remote mountain hike.
The farther you are from assistance, the more important it becomes to prepare for an unexpected delay.
16. Consider an Emergency Shelter
An emergency shelter may sound unnecessary on a short day hike.
But a simple lightweight shelter can help protect you from wind, rain, or unexpected exposure if you have to stop for a long time.
Depending on your environment, this might be an emergency blanket, lightweight tarp, or another compact shelter option.
The purpose is not to create a comfortable campsite.
It is to give you additional protection if your original plan changes.
Emergency shelter is included among the standard preparedness categories recommended for outdoor trips.
17. Bring a Small Repair Kit
Outdoor equipment can sometimes fail.
A small repair kit can help with simple problems such as:
- Torn backpack straps
- Loose equipment
- Damaged buckles
- Small gear failures
You do not need a large toolbox.
A few lightweight repair items can be enough for a normal day hike.
Choose items based on the equipment you actually carry.
18. Use Trekking Poles When They Help
Trekking poles are not required for every beginner.
However, they can be useful on steep, uneven, muddy, or slippery trails.
They may also help you feel more stable when carrying a backpack.
If you use poles, practice with them before taking them on a difficult hike.
Learn how to adjust their length and how to use them without depending completely on them for balance.
The goal is to improve control, not to make hiking more complicated.
19. Pack According to the Weather
Your backpack should change with the forecast.
On a Hot Day
Consider:
- More water
- Sun protection
- Lightweight clothing
- Extra food
- Electrolyte-containing foods or drinks when appropriate
On a Cool Day
Consider:
- Extra warm layer
- Hat
- Gloves if needed
- Additional insulation
On a Rainy Day
Consider:
- Rain jacket
- Waterproof protection for important items
- Extra socks
- Clothing that dries reasonably well
In Cold Conditions
You may need significantly more insulation and additional safety equipment.
Do not treat a cold-weather hike like a summer hike with a few extra clothes.
Weather and terrain should influence the entire plan.
20. Keep Heavy Items Close to Your Back
How you pack your backpack can affect how comfortable it feels.
Try to place heavier items close to your back rather than letting them hang far away from your body.
Keep frequently used items where you can reach them easily.
For example:
Easy-to-reach areas:
- Water
- Snacks
- Map
- Sunscreen
- Rain layer
- Small personal items
Main compartment:
- Extra clothing
- First-aid kit
- Emergency items
- Less frequently used equipment
Avoid putting everything randomly into the backpack.
An organized backpack makes it easier to find what you need without unpacking everything.
21. Keep Your Backpack Light
A common beginner mistake is packing for every possible situation.
The result is often a backpack full of equipment that is never used.
Before packing an item, ask:
“Do I really need this for this hike?”
Then consider:
- How long will I be outside?
- What will the weather be like?
- How remote is the trail?
- Is the item necessary for safety?
- Can one item serve more than one purpose?
Pack the essentials first.
Add optional items only after you have covered your basic needs.
22. Tell Someone About Your Hiking Plan
Before leaving, tell someone where you are going and when you expect to return.
This is particularly important when hiking alone or visiting a remote area.
Share information such as:
- Trail name
- Starting point
- Planned route
- Expected return time
- Who is hiking with you
If your plans change significantly, update them when possible.
Outdoor safety guidance recommends leaving a trip plan with someone who is not part of the hike.
23. Check the Weather Before You Leave
Checking the weather is one of the simplest preparation steps.
Look at more than just the temperature.
Pay attention to:
- Rain
- Wind
- Thunderstorms
- Heat
- Cold
- Visibility
- Sudden weather changes
If conditions become unsafe, changing the plan is not a failure.
You can choose a shorter route, delay the hike, or select another activity.
A good hiking plan should have a backup option.
24. Know When to Turn Around
Beginners sometimes think reaching the planned destination is the most important goal.
It is not.
If you become exhausted, the weather changes, the trail becomes unsafe, or you realize you have less time than expected, turning around can be the right decision.
Set a reasonable turnaround time before starting.
Do not wait until you are already in serious trouble.
Outdoor safety guidance emphasizes knowing your limits, tracking time, and turning around when conditions or fatigue make continuing unsafe.
25. Do Not Forget Trail Etiquette
Packing the right equipment is only one part of being a good hiker.
Respect the trail and other people using it.
Simple habits include:
- Stay on designated trails
- Carry your trash out
- Avoid damaging plants
- Keep noise under control
- Respect other hikers
- Follow local rules
- Give appropriate space when passing
Leaving the trail can also increase the chance of getting lost and can damage the surrounding environment.
26. What Beginners Usually Do Not Need
You may see long hiking gear lists online, but you do not need to buy everything for your first day hike.
You can usually leave unnecessary items at home if the trail does not require them.
Examples may include:
- Large cooking equipment
- Heavy camping equipment
- Multiple changes of clothing
- Large tools
- Excessive food
- Bulky entertainment equipment
- Unnecessary duplicate gear
The goal is not to have the biggest backpack.
The goal is to have the right equipment for the hike you are actually doing.
27. A Simple Beginner Day-Hike Packing List
Here is a simple starting point.
Essential Items
- Backpack
- Water
- Food and snacks
- Comfortable hiking shoes
- Suitable socks
- Navigation method
- Fully charged phone
- Extra clothing layer
- Rain protection when needed
- Headlamp or flashlight
- Small first-aid kit
- Sun protection
- Emergency supplies appropriate for the trail
Useful Depending on Conditions
- Trekking poles
- Insect repellent
- Extra socks
- Emergency shelter
- Basic repair kit
- Water treatment supplies
- Gloves
- Warm hat
- Additional food and water
Before Leaving Home
- Check the weather
- Check the trail condition
- Review the route
- Download an offline map
- Charge your phone
- Tell someone your hiking plan
- Check your equipment
- Confirm your expected return time
28. A Simple Packing Formula for Beginners
You can remember the basic idea with this formula:
Route → Weather → Water → Food → Safety → Comfort
Route tells you how difficult and remote the hike will be.
Weather determines your clothing and protection.
Water keeps you prepared for physical activity and changing conditions.
Food provides energy and a backup if the hike takes longer.
Safety includes navigation, lighting, first aid, and emergency items.
Comfort includes shoes, socks, layers, and anything that helps you enjoy the trail.
This approach is easier than memorizing a huge list of hiking equipment.
Final Thoughts
Packing for a day hike does not have to be complicated.
Start by understanding the trail and checking the weather. Then pack the basic items you need for water, food, navigation, clothing, lighting, first aid, and unexpected changes.
As you gain experience, you will learn which items are essential for your hiking style and which items simply add weight.
For beginners, the most important lesson is simple:
Pack for the hike you are actually taking, not the biggest adventure you can imagine.
A well-prepared backpack should give you confidence without becoming a burden.
Start with an easy trail, carry the essentials, pay attention to the conditions, and gradually build your hiking skills with every trip.
Want to learn more? Check out these related camping guides:
→ How to Prepare for a Day Hike